
You toss that greasy pizza box or sticky jar straight into the recycling bin. It’s quick and feels good. But without the right prep, you’re sabotaging the whole system.
Contamination from dirty or wrong items ruins loads across the US. For example, 76% of what households set out as recyclables ends up in the trash before processing, thanks to mix-ups and residue. This sends potential resources to landfills instead.
Properly preparing items before recycling keeps the process smooth. It saves energy and materials, since clean recyclables turn into new products faster. Plus, it cuts down on climate-warming emissions from making stuff from scratch.
In this post, you’ll get general rules to start with, tips for common items like plastics and paper, steps for special cases such as electronics, and mistakes to dodge. Follow these simple steps, and your recycling will actually work. Let’s dive into the basics first.
Master the Basic Rules That Apply to Almost Every Recyclable
Most recyclables follow the same easy prep steps. Empty them, rinse them clean, and let them dry. These rules cut contamination and help your efforts count. Dirty items mix with clean ones during sorting. As a result, factories toss entire loads into landfills. Check your city’s guidelines first, since options vary. For national basics, see the EPA’s recycling FAQs.
Empty everything completely. Pour out liquids and scrape out food scraps from cans, bottles, or jars. A soda can with leftover fizz? Dump it. Food bits attract pests and stick to other items. This simple step prevents odors and messes down the line.
Next, rinse with plain water. Sticky milk from a jug or sauce from a jar needs a quick wash. No soap required; water does the job.
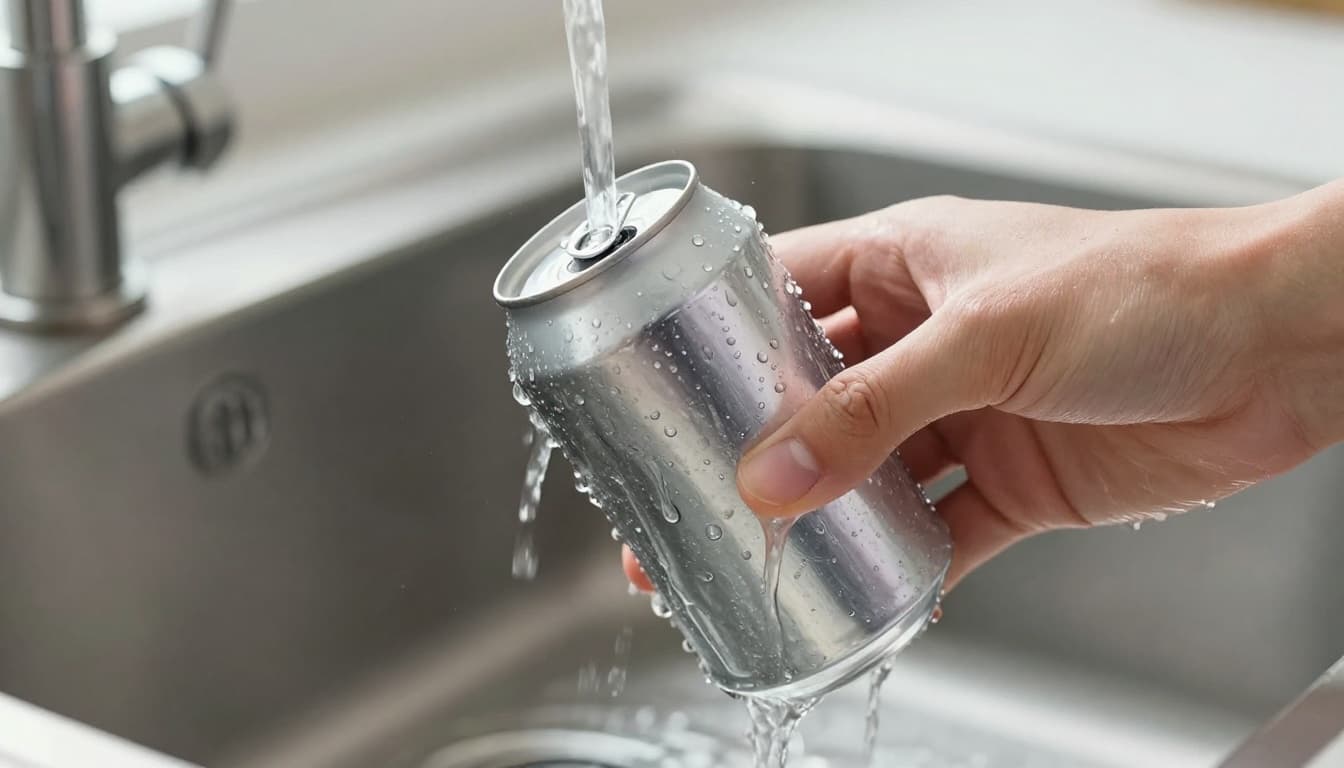
Picture rinsing that soda can under the tap. Water blasts away residue in seconds. Clean surfaces sort better and process faster.
Then, shake off excess water and air dry. Place items upside down on a rack or towel. Wet recyclables soak paper or cardboard nearby. In short, dry means ready for the bin.
Don’t bag recyclables at all. Plastic bags tangle machines and cause shutdowns. Instead, toss items loose into your bin. Republic Services calls this the Empty, Clean, Dry rule. It keeps streams flowing smoothly.
Sort if your area requires it. Some places want plastics separate from paper. Others use single-stream bins. Either way, these habits boost success rates.
Follow these, and you avoid common pitfalls. Your recycling bin turns waste into resources without a hitch.
Step-by-Step Guide to Prepping Plastics, Glass, Paper, and Metals
Now that you know the basics like emptying and rinsing, let’s break it down by material. These steps build on those rules. They match 2026 curbside trends across the US, where clean prep keeps your items out of landfills. Always double-check your local program first, because rules shift by city. For example, some areas ban glass entirely.
Plastics: From Bottles to Tubs
Start with plastics numbered #1 PET, #2 HDPE, and #5 PP. These top the list for curbside acceptance. In 2026, nearly all facilities take #1 and #2 bottles and jugs. Plus, #5 tubs show up in over 60% of programs now.
Rinse them well under the tap. A milk jug from your fridge? Pour out the last drops, then give it a quick splash. Leave the label on; modern sorters handle it fine. Flatten big jugs or tubs to save space in your bin. Caps go back on if they fit, or recycle them with metals.
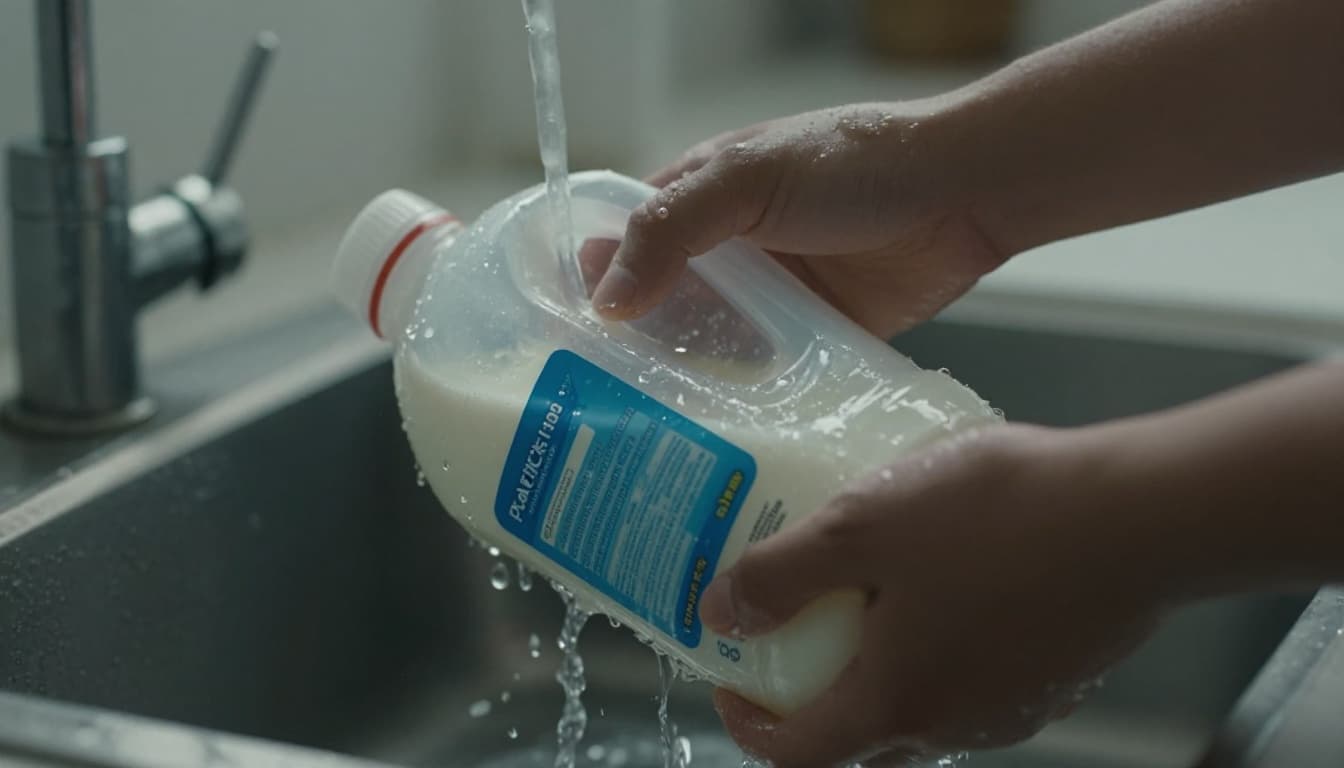
See how that rinse clears residue fast. It stops contamination, so your plastics process smoothly. Stack them neatly if your bin allows.
Skip the rest. No plastic bags; they jam machines, so drop those at stores. Foam packing (#6) and numbers #3 through #7 rarely work curbside. Toss those in trash or find special spots. Clean prep like this boosts acceptance rates and keeps loads pure.
Glass and Metal Cans: Quick Rinse Wins
Glass bottles and jars work in some spots, but 30 to 50% of programs ban them due to breakage. Check your city’s site before tossing. If accepted, remove caps or rings first; recycle those with metals or trash them. Rinse inside and out. No broken pieces, please.
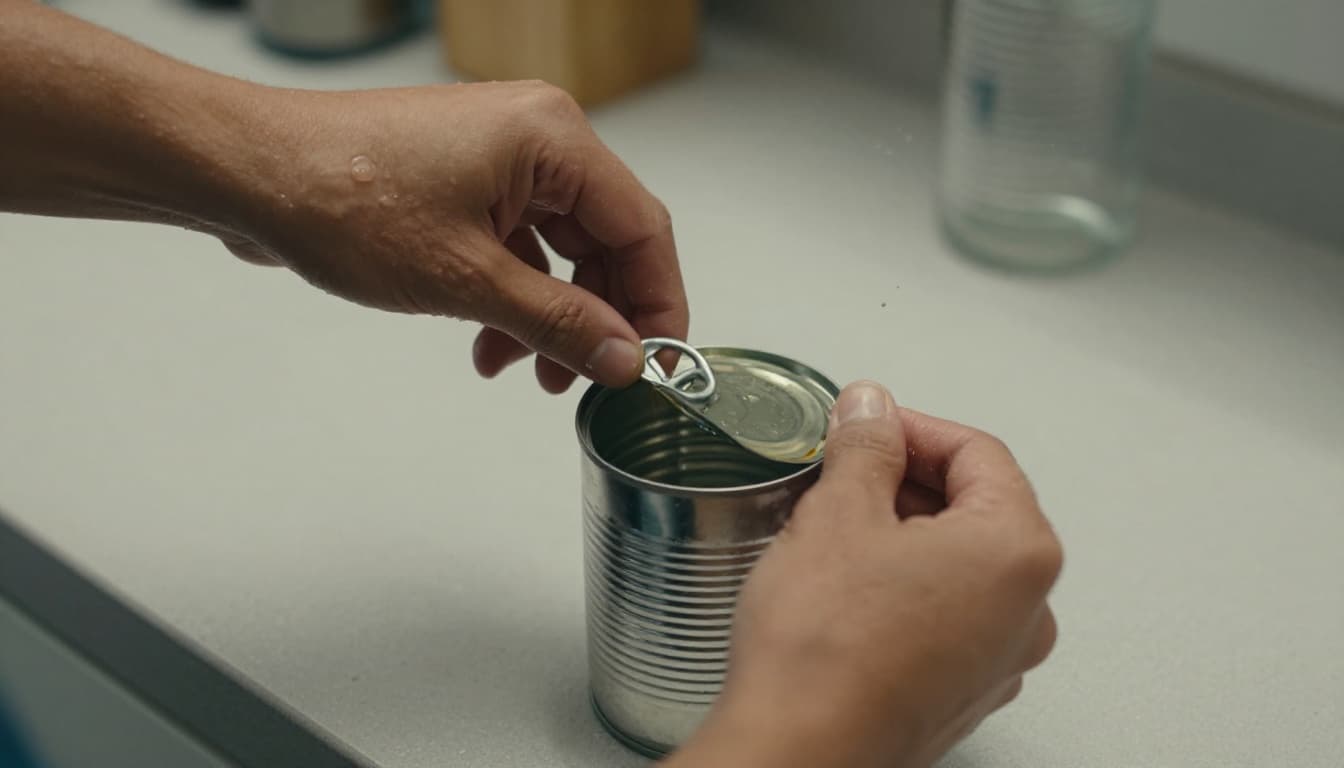
Metals shine here. Aluminum and steel cans accept everywhere. Empty food or drink fully, then rinse. Tuck lids inside the can to avoid losing them. Flatten cans after they dry. Small foil bits under two inches? Skip those; they slip through sorters.
Tucking that lid secures it for the ride. As a result, nothing falls out at the plant. This simple move saves time and space.
Dry everything before binning. Wet glass or cans soak paper nearby. In short, quick rinses win because they prevent rejects. See the EPA’s guide on common recyclables for more details.
Paper and Cardboard: Keep It Dry and Flat
Paper loves dry conditions. Office sheets, junk mail, and newspapers work great. Flatten envelopes and remove plastic windows if you spot them. No greasy pizza boxes or oily wrappers; those ruin batches.
Cardboard follows suit. Clean corrugated boxes flatten best. Cut them to fit your bin, then stack neatly. Waxed or greasy ones go to trash. In 2026, recycling hits 71 to 76% for boxes when prepped right.
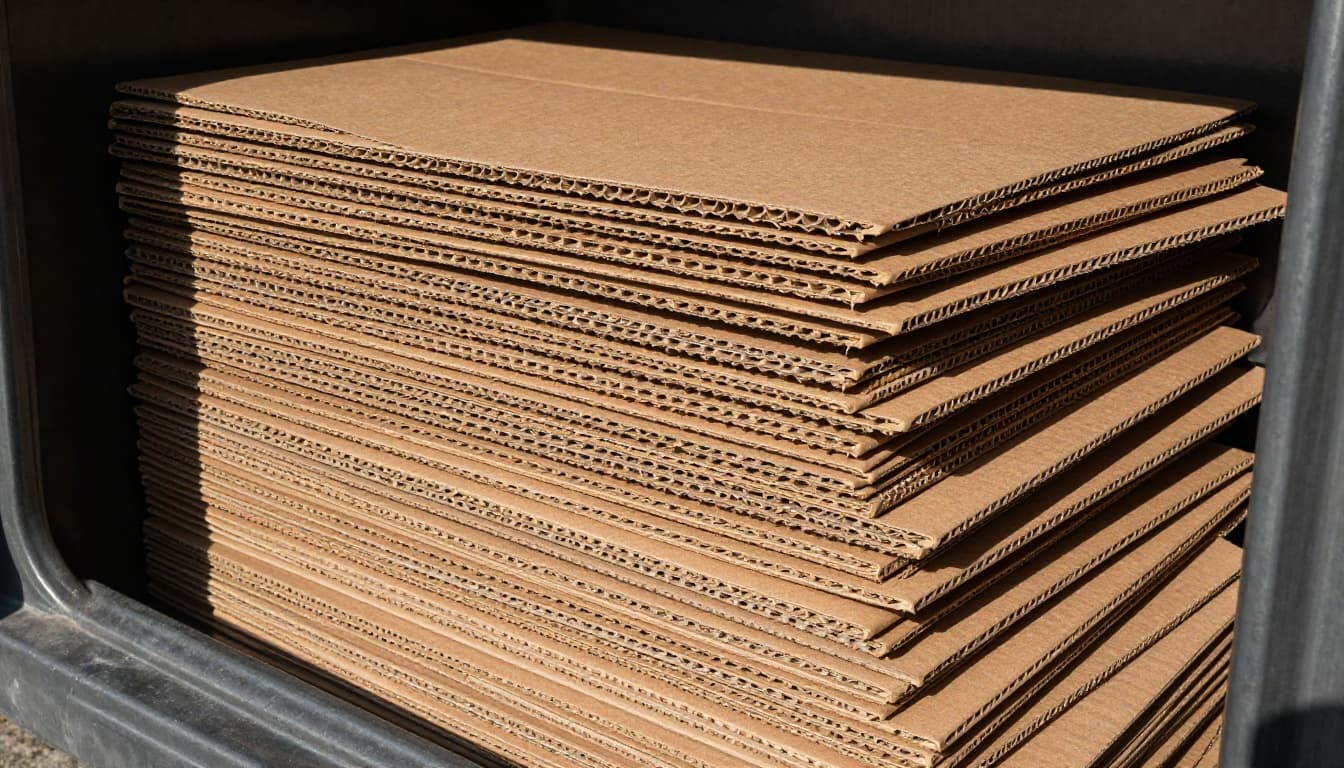
That stack shows how flat and dry keeps air out. Meanwhile, it fits more in trucks. Dry paper stays light and sorts easy.
Bits under two inches scatter, so bundle those if needed. However, most programs prefer larger pieces. Keep it all dry, and your paper stream stays strong. Local trends favor this prep, so your efforts count big.
Tackle Tricky Items and Avoid These Common Prep Pitfalls
Even with basics down, tricky spots trip people up. You might toss a greasy box or old charger hoping for the best. However, these moves spike contamination. In fact, 76% of household recyclables hit the trash because of mix-ups like residue or wrong items. That low plastic recycling rate, around 5% nationwide, stems from dirty prep too. New state rules on producer responsibility push cleaner habits, since companies now fund better sorting. Avoid these pitfalls, and your efforts stick.
Skip Wishcycling and Top Prep Blunders
Wishcycling happens when you guess an item recycles. That yogurt cup or phone cord? It clogs machines often. As a result, whole batches go to landfills. Check facts first; Routeware details common wishcycled items.
Don’t leave liquids or food bits. A half-full soda bottle soaks everything nearby. Scrape cans clean, then rinse. Soiled paper fares worse. Greasy pizza boxes ruin loads, so compost them instead. Your kitchen scraps turn into soil that way.
Bagging recyclables ranks high too. Bags tangle sorters and halt lines. Toss loose every time. In short, these errors cost millions in rejected materials. Spot them, and you fix the chain.
Handle Electronics, Batteries, and Textiles Smartly
Electronics need drop-offs, not curbside bins. Old laptops or cords hold data risks, so wipe personal info if selling. Otherwise, take to Best Buy; they accept most free with no special prep. It keeps toxics out of dumps.
Batteries spark fires if mishandled. Tape over terminals with duct tape before bagging. Then find Call2Recycle spots at stores. Their guidelines cover safe prep. Simple tape prevents shorts.
Textiles like worn clothes go to local centers. H&M or Goodwill bins work, but check for tears. Clean them first; stained items often get trashed there too. These steps divert tons from landfills yearly.
Unsure About an Item? Here’s Your Quick Fix
Pause before binning odd stuff. Download your city’s app or search Earth911.com for spots. For example, that toothpaste tube? Special programs exist now. Local rules match 2026 trends, so verify.
Picture this: my neighbor wishcycled foam cups once. His bin got tagged, and service skipped a week. Now he checks first. You can too. Clean prep turns doubt into wins, so recycling actually loops back to new goods.
Special Handling for Batteries, Electronics, and Textiles
Curbside bins reject batteries, electronics, and textiles. These items risk fires, leaks, or contamination if tossed wrong. Instead, special prep keeps them safe and recycled right. Recent 2026 laws help too. California now charges fees on battery-embedded devices to fund recycling. Washington requires manufacturers to offer repair parts. As a result, drop-off spots grow nationwide.
Electronics: Wipe Data and Drop Off Free
Start by resetting devices. Laptops or phones hold personal info, so factory reset them first. Apple stores take iPhones and Macs for free. Best Buy handles TVs, cords, and more at over 1,000 spots. No prep needed beyond that; they sort and wipe data securely. Check the Best Buy Recycle Program details for your items. This keeps toxics like lead out of dumps.
Batteries: Tape Terminals to Stop Sparks
Rechargeables never go in trash; laws ban them in many states. Tape over plus and minus ends with duct tape first. It prevents shorts and fires during transport. Then drop at Home Depot, Staples, or stores via Call2Recycle.org locator.
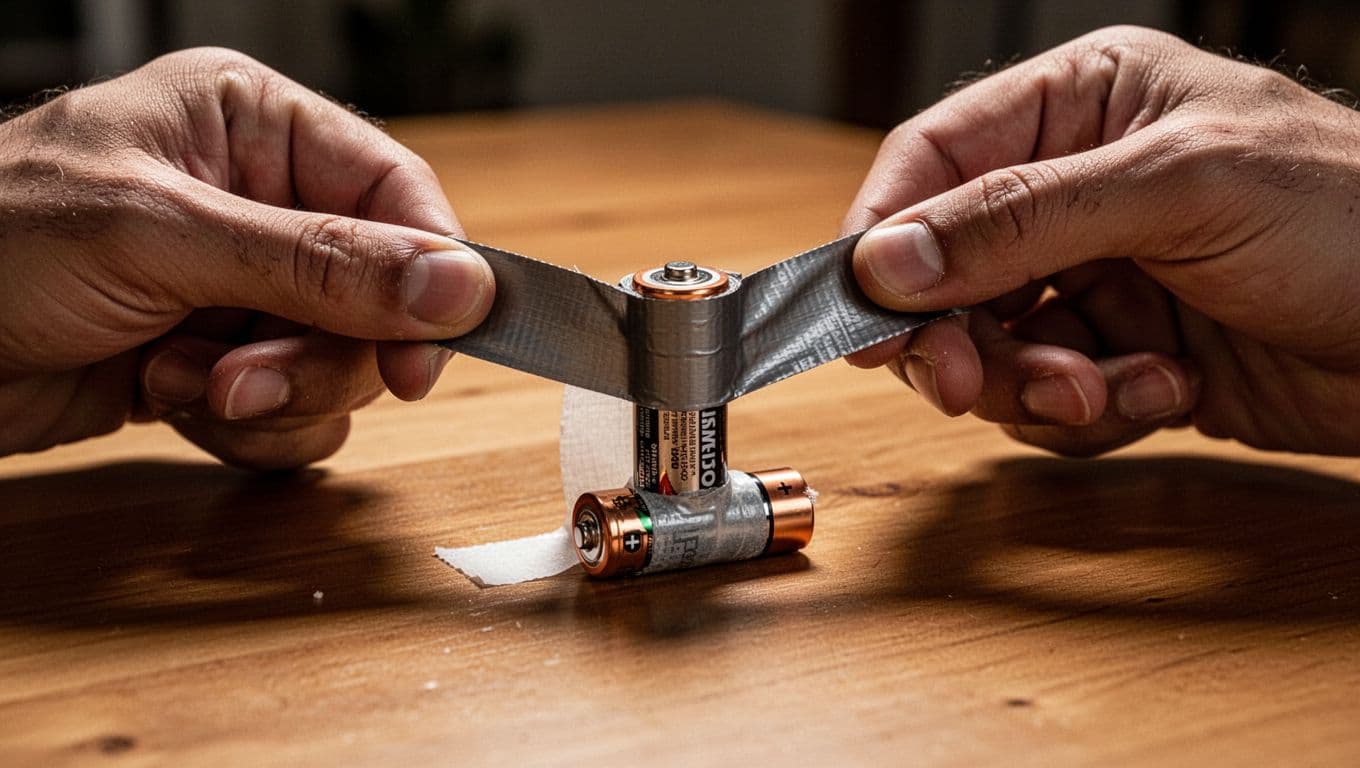
That tape seals danger fast. Vermont and Illinois expanded programs this year, so spots multiply. In short, simple steps divert millions of pounds yearly.
Textiles: Wash and Find Bins
Clothes and linens need cleaning first. Stains or rips mean trash there too. Goodwill accepts most worn items for reuse. H&M bins take any textiles for recycling. See their garment collecting page. Local drives fill fast, so check ahead. Clean prep turns old tees into new yarn.
Conclusion
You started with that greasy pizza box or sticky jar. Now you know rinse, dry, and empty turns them into real recyclables. These steps stop contamination and keep loads pure.
Check your city’s site first. Avoid bags and wishcycling. As a result, your plastics, paper, and metals actually loop back into new products.
Start one new habit this week. Share these tips with family. Proper how to prepare recyclables saves energy, trees, and landfill space every time.